

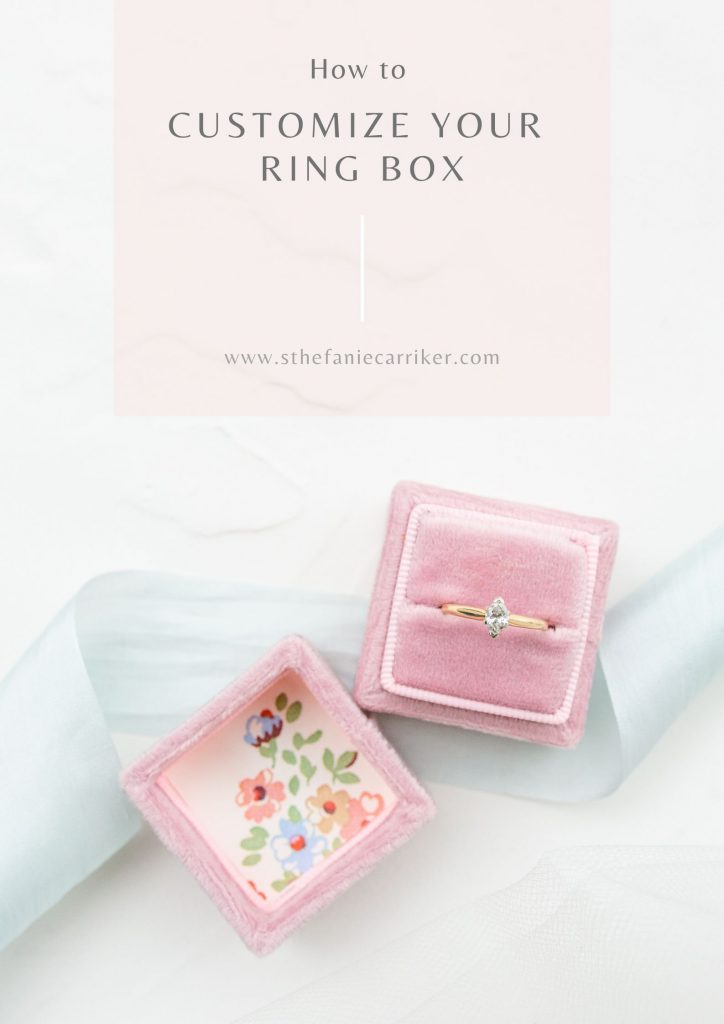
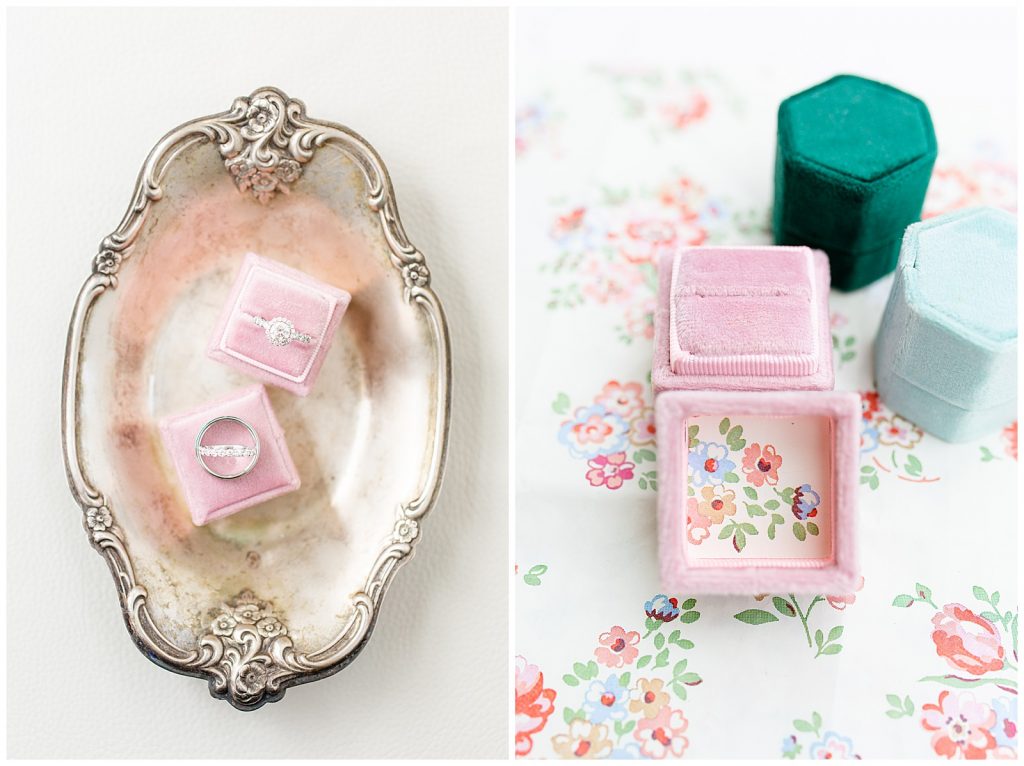
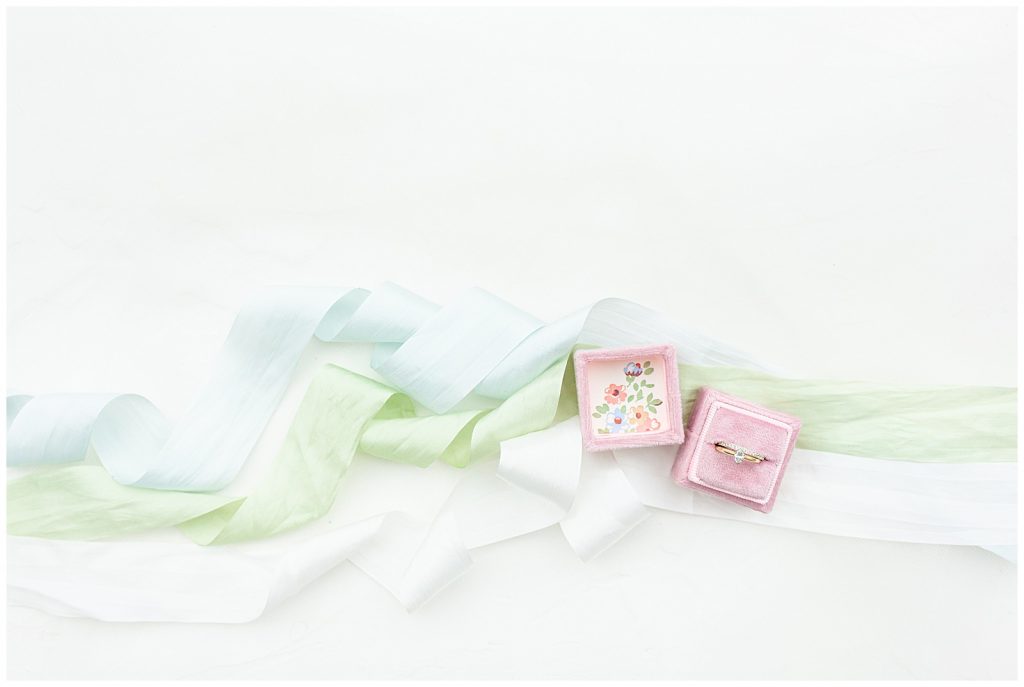
I am so excited about this DIY because it’s for both brides and photographers. Velvet ring boxes are very popular in wedding detail photos, and for good reason! Not only are they beautiful, they make your rings stand out and look amazing in photos. I have a few that I keep in my styling kit, and I bring them with me on wedding days.
The cost of these velvet ring boxes vary greatly. You can find affordable boxes on Amazon for around $20, but are limited in the variety of colors. Etsy is another great place to find velvet ring boxes, with monogrammed ones averaging around $40.00. One of the most popular brands of boxes is The Mrs. Box, and for good reason! They are beautiful, come in a large assortment of colors, shapes, sizes, and can be monogrammed. Unfortunately they are really expensive, and can be over $100 each.
I’ve got a quick and easy DIY if you want to make your ring box look as unique as you!
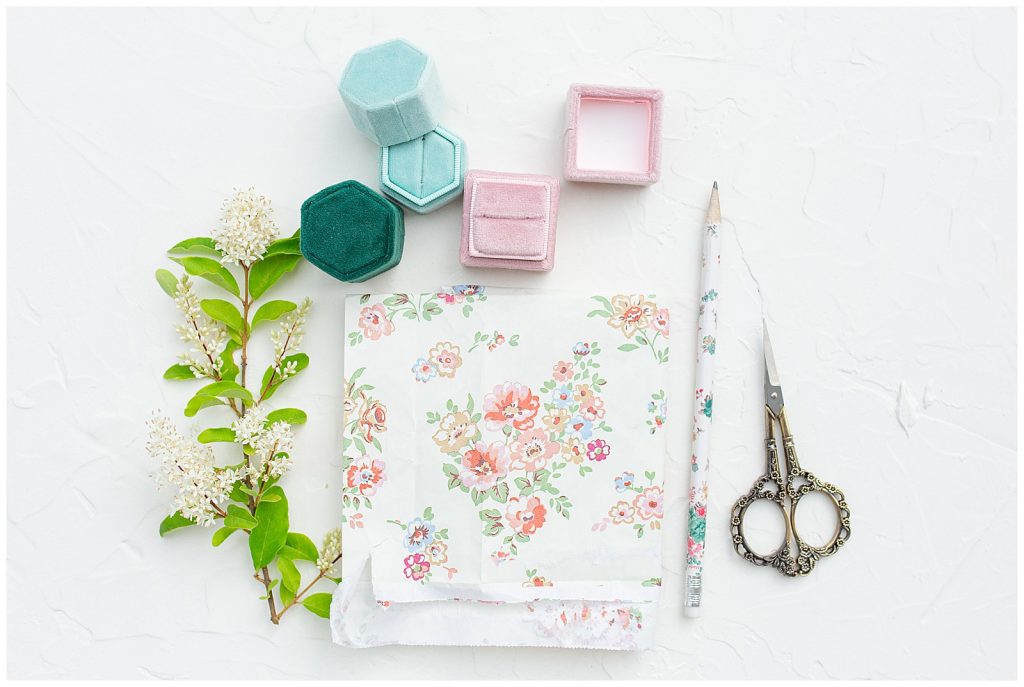
You only need a few supplies:
A ring box (I got mine from Amazon)
Scissors
A pencil
Decorative paper * This is where you have a chance to really get creative. I used wrapping paper from Cath Kidston ,one of my favorite stores, but any kind of paper will work. You can even use a piece of your wedding invitation or save the date! How cute would that be?!?!?!
Glue Stick- This is optional if you want to make your design permanent, but you don’t have to.
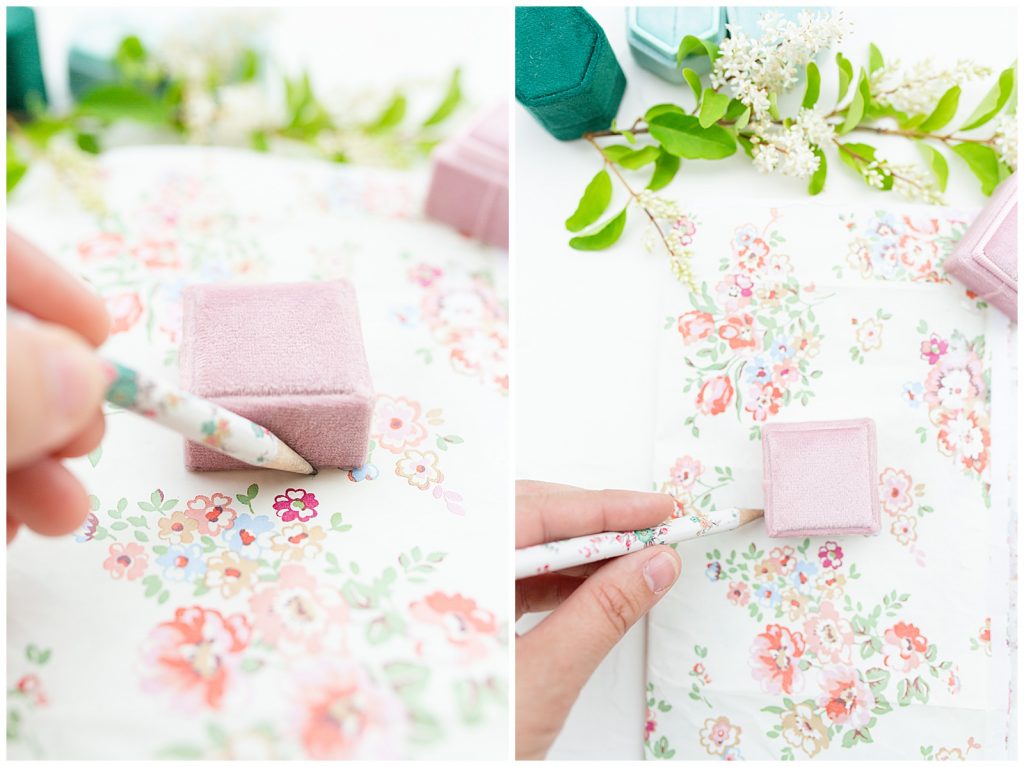
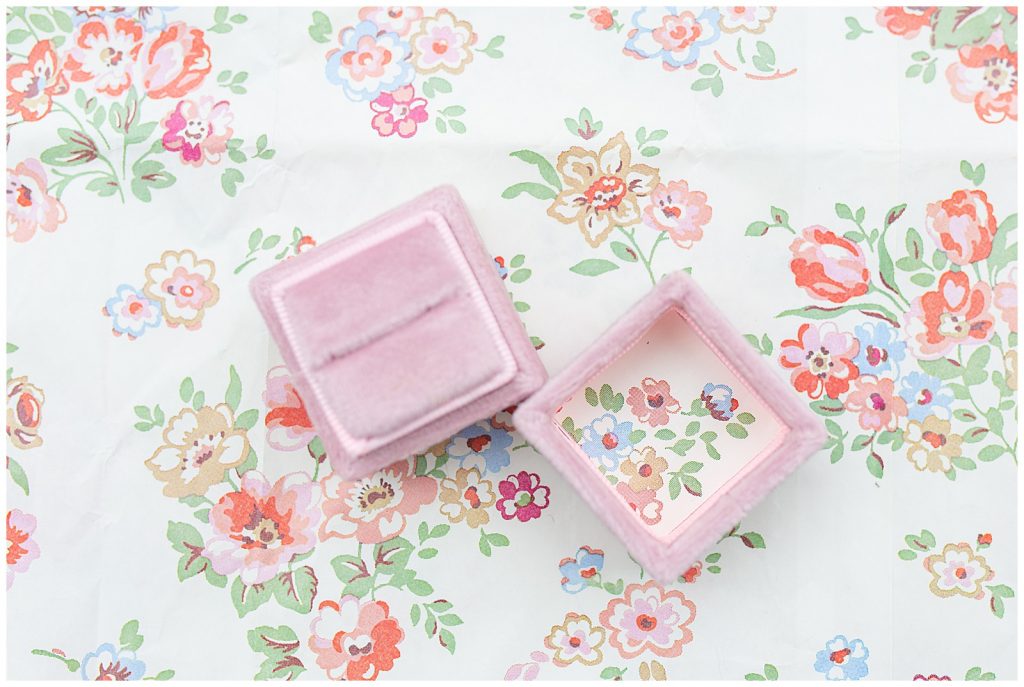
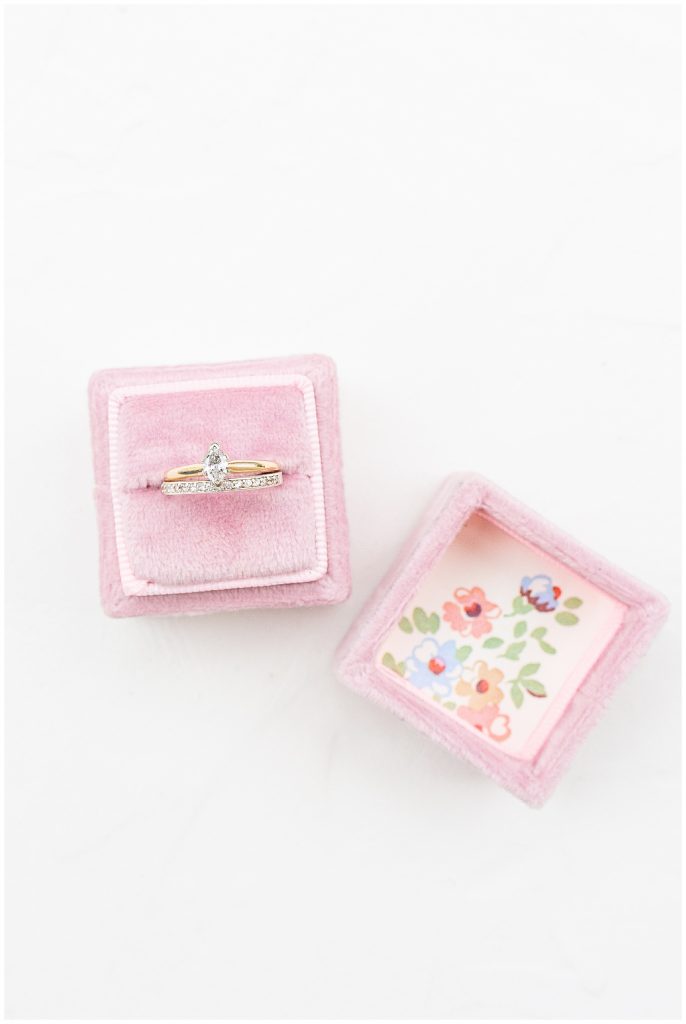
The underside of my ring box lid is plain and white, so I wanted to decorate it and make it unique.

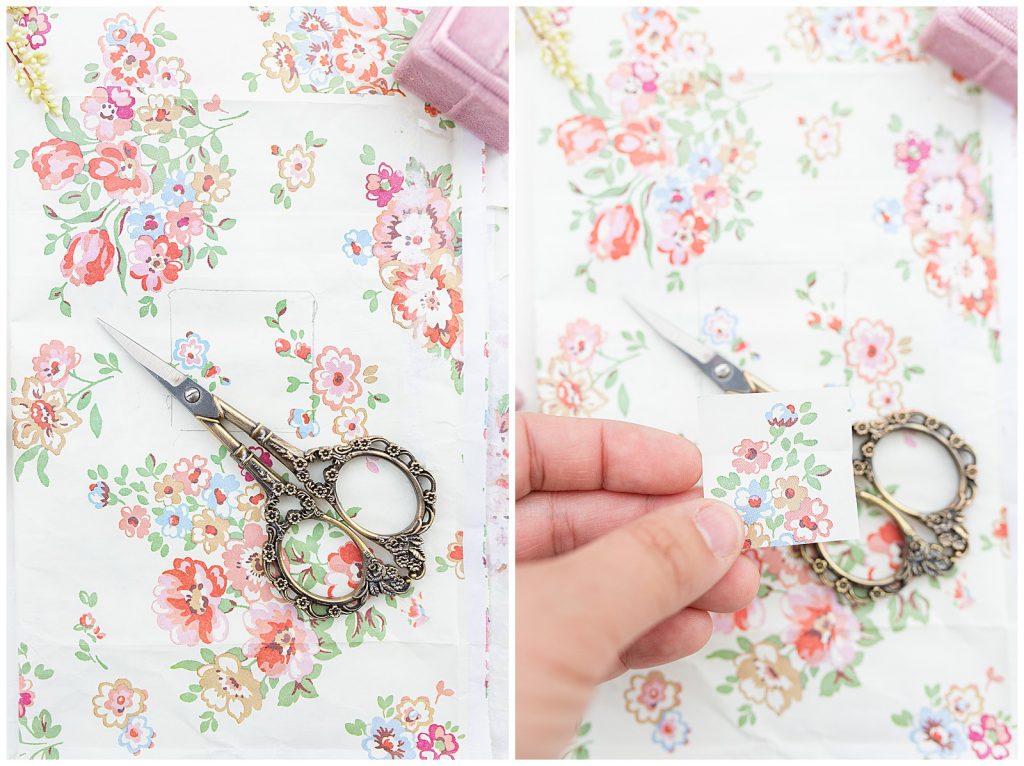
Lay the lid on top of your paper, trace around it, then cut it out.
You will probably need to trim down the sides a few times to make it fit. You want to make sure it’s just a TINY bit larger than the inside dimensions of the lid, so it fits snug and doesn’t fall out, especially if you don’t plan to glue it in place.
Here is a bonus tip. If you have fabric that you love, wrap it around a piece of card stock and repeat the same steps. You can use lace, velvet, silk….whatever you want. The possibilities are endless!
Once your piece of paper is cut out, gently press it into the lid. That’s it! Really! Now the inside of your ring box lid is beautiful and unique.
I love how this little piece of paper completely changed the look of my ring box. Since I didn’t glue it in, I can easily swap it out with another piece of decorative paper or fabric at my next wedding.

If you try this DIY let me know! I would love to see what you come up with!


+ COMMENTS
add a comment